
Magento 2 Barcode Scanner
Installation and User Guide for Magento 2 Barcode Scanner extension
Table of Contents
- Installation
- Installation via app/code
- Installation via Composer
- Configuration Settings for Barcode Scanner
- General Settings
- Sample Product Settings
- Configure a Sample Product
- Configure a Simple Product
- Coupon code doesn't work for a Sample product
Installation
-
Installation via app/code: Upload the content of the module to your root folder. This will not overwrite the existing Magento folder or files, only the new contents will be added. After the successful upload of the package, run below commands on Magento 2 root directory.
php php bin/magento setup:upgrade php bin/magento setup:di:compile php bin/magento setup:static-content:deploy -
Installation via Composer: Please follow the guide provided in the below link to complete the installation via composer.
https://docs.scommerce-mage.com/magento-2-extensions/installation-via-composer/installation-via-composer
Configuration Settings for Sample Product
Go to Admin > Stores > Configuration > Scommerce Configuration > Sample Product
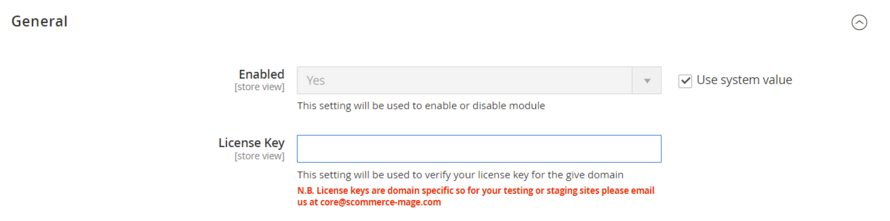
General Settings
- Enabled – Select "Yes" or "No" to enable or disable the module.
- License Key – Please add the license for the extension which is provided in the order confirmation email. Please note license keys are site URL specific. If you require license keys for dev/staging sites then please email us at support@scommerce-mage.com.
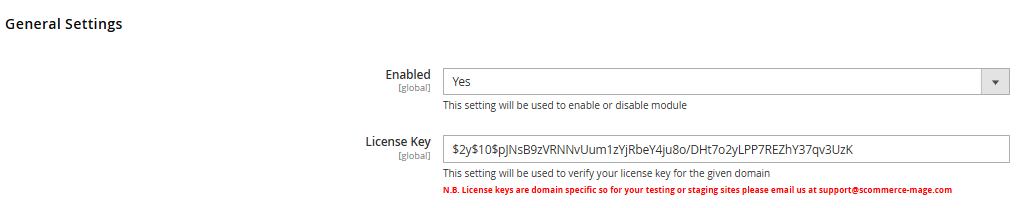
Barcode Scanner Settings
- Enabled – Select "Yes" or "No" to enable or disable the module.
- License Key – Please add the license for the extension which is provided in the order confirmation email. Please note license keys are site URL specific. If you require license keys for dev/staging sites then please email us at support@scommerce-mage.com.
- Barcode Attribute – Please select the Barcode attribute from the options.

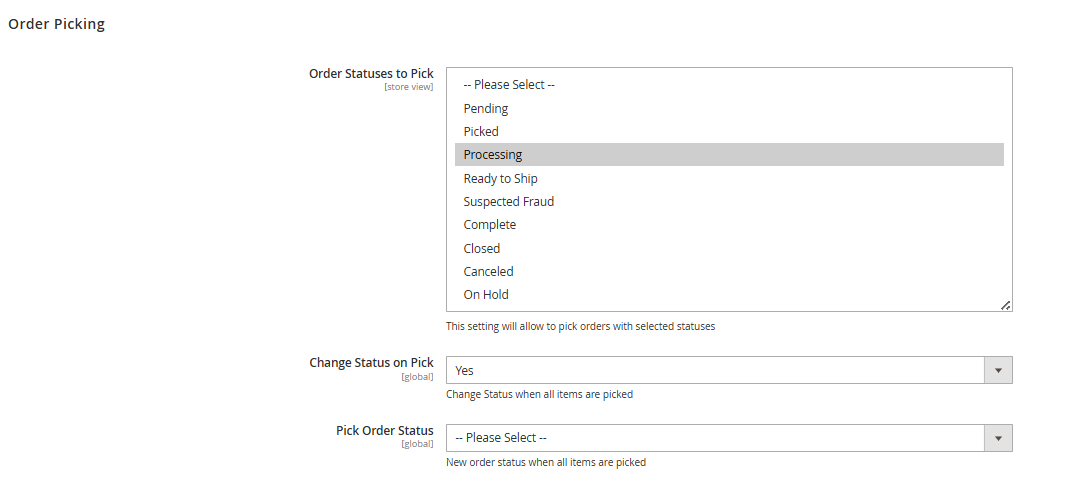
- Order Statuses to pick – Please select the Order Statuses from the options.
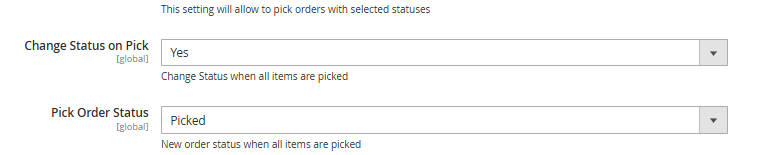
- Change Status on Pick - Select Yes or No to Change the status on pick.
- Pick Order Status - If you select Yes, then choose the Pick Order Status from the options.
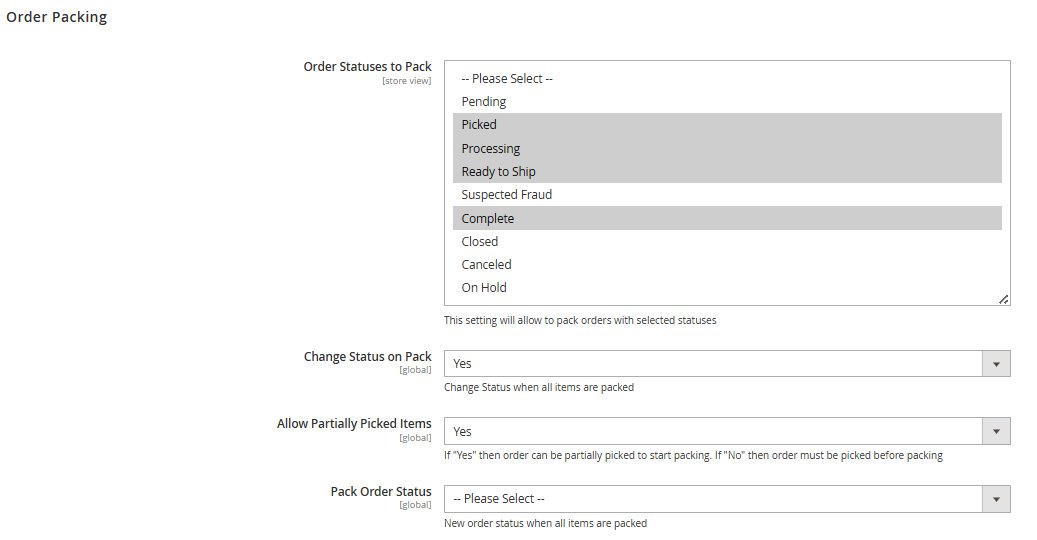
- Order Statuses to pack – Please select the Order Statuses from the options.
- Change Status on Pack - Select Yes or No to Change the status on pack.
- Allow Partially Picked Items - Select Yes or No to Allow Partially Picked Items.
- Pack Order Status - Please select the Pack Order Status from the options.
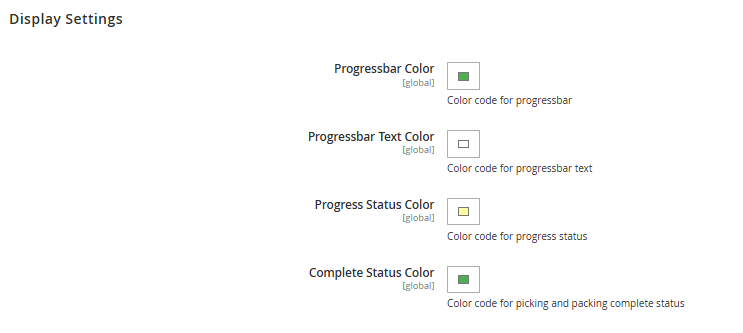
- Progressbar Color – Please select the Color code for Progressbar
- Progressbar Text Color – Please select the Color code for Progressbar Text Color
- Progress Status Color – Please select the Color code for Progress Status Color
- Complete Status Color – Please select the Color code for Picking and Packing Complete Status
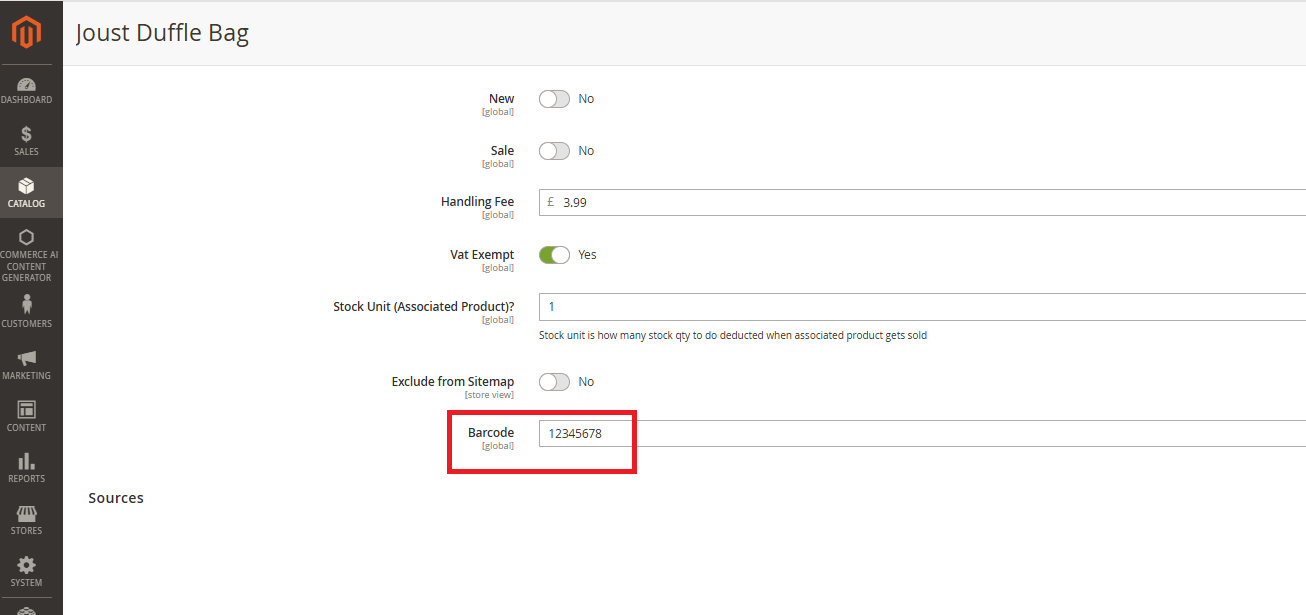
Add a Barcode Scanner to a Product
Log in to the Admin Panel, navigate to Admin >Catalog > Products, and select the product you want to edit. Click Edit, then scroll down to the Barcode field. Enter the value 12345678,12345678, save the changes, and create an order for the product to which you added the Barcode (24-MB01).
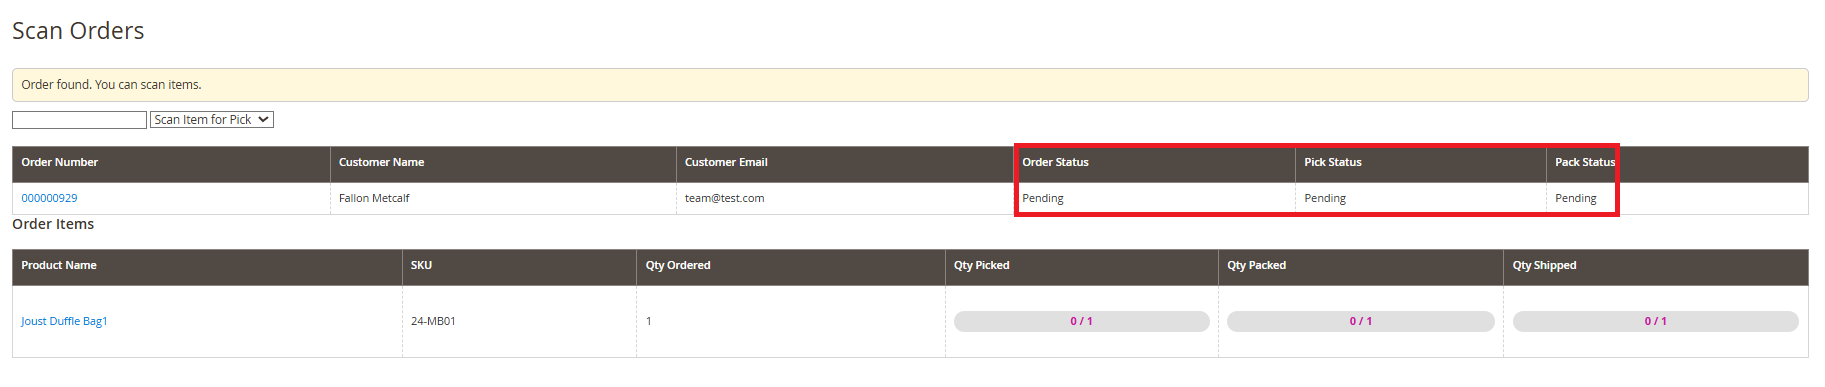
Scan Orders
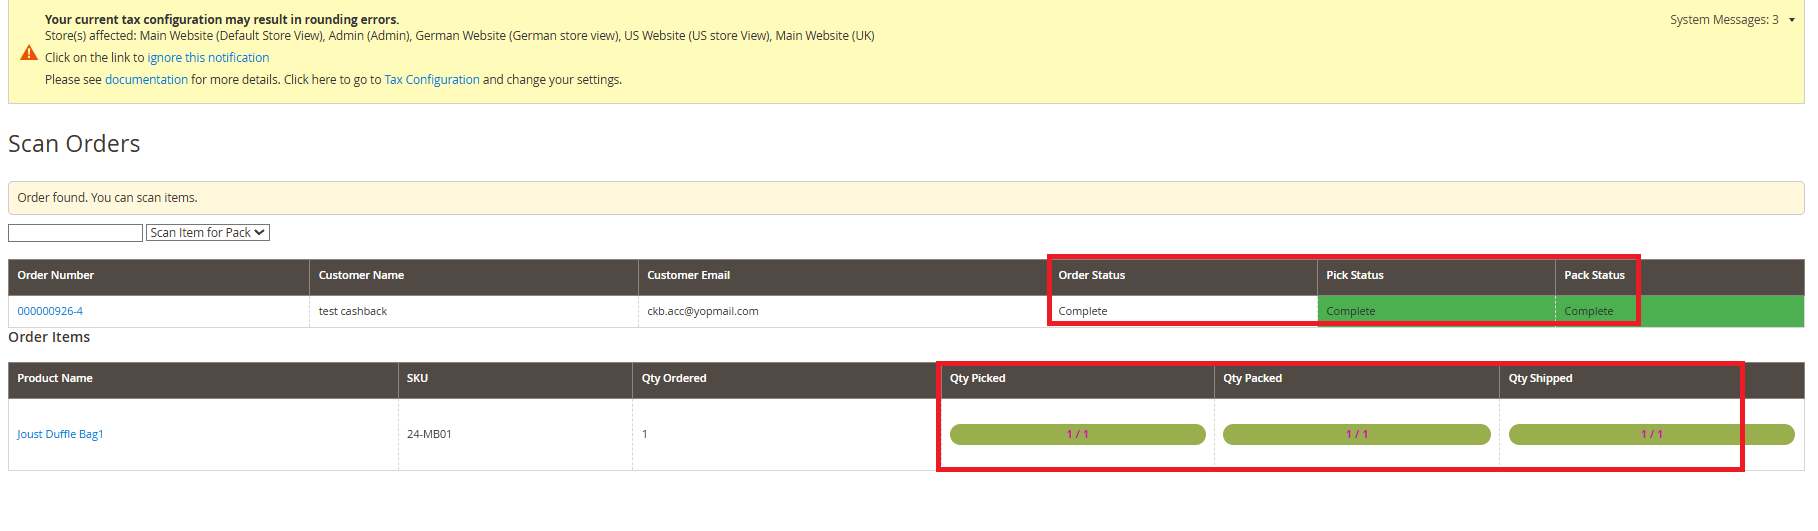
Go to Admin > Sales > Scan Orders. Enter the order number in the Scan Order field. The system will then display the status as Pending under Order Status, Pick Status, and Pack Status.
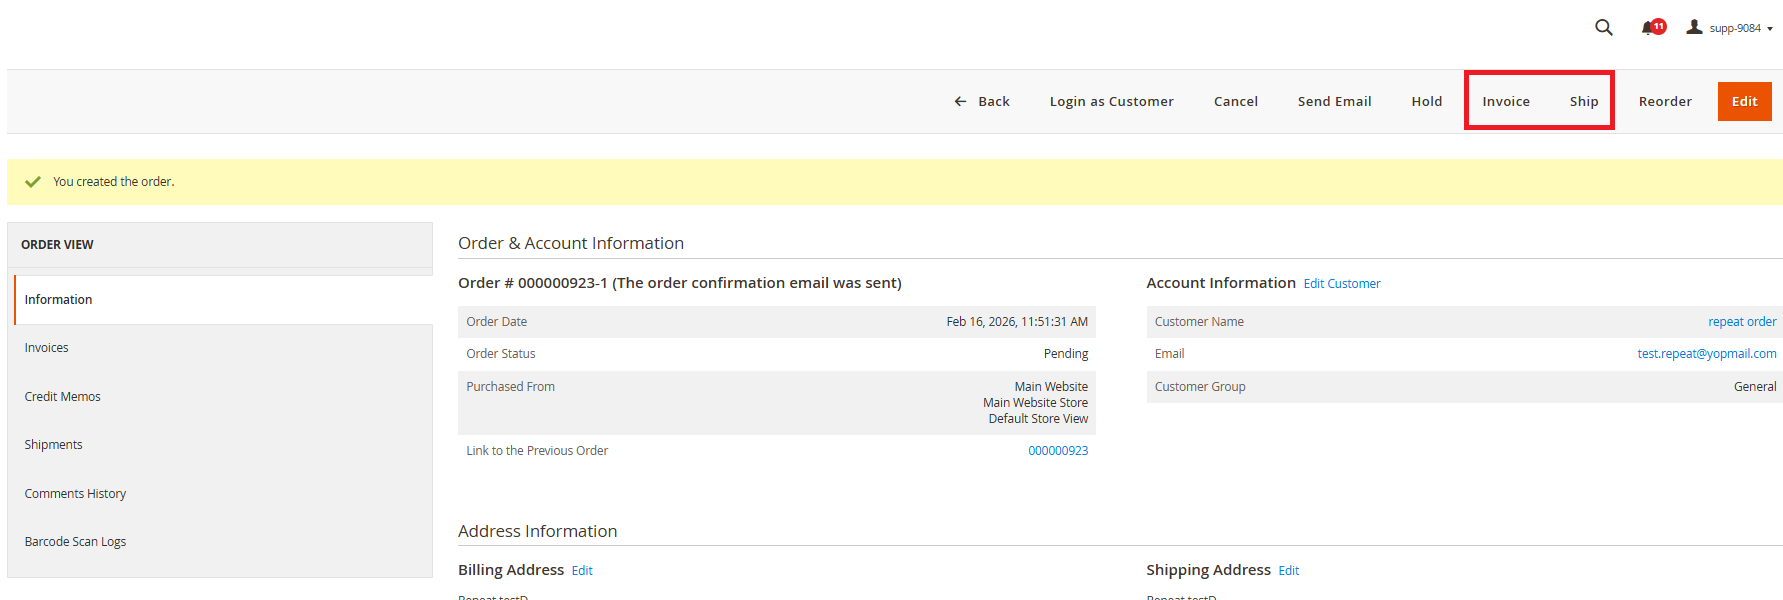
Then go to Admin > Sales > Orders. Create the invoice and ship the order. Once completed, the order status will display as Complete in Scan Orders.
Next, enter the Barcode value 12345678 in the Scan Items field for Pick and again in the Scan Items field for Pack. Once completed, the status will update to Complete
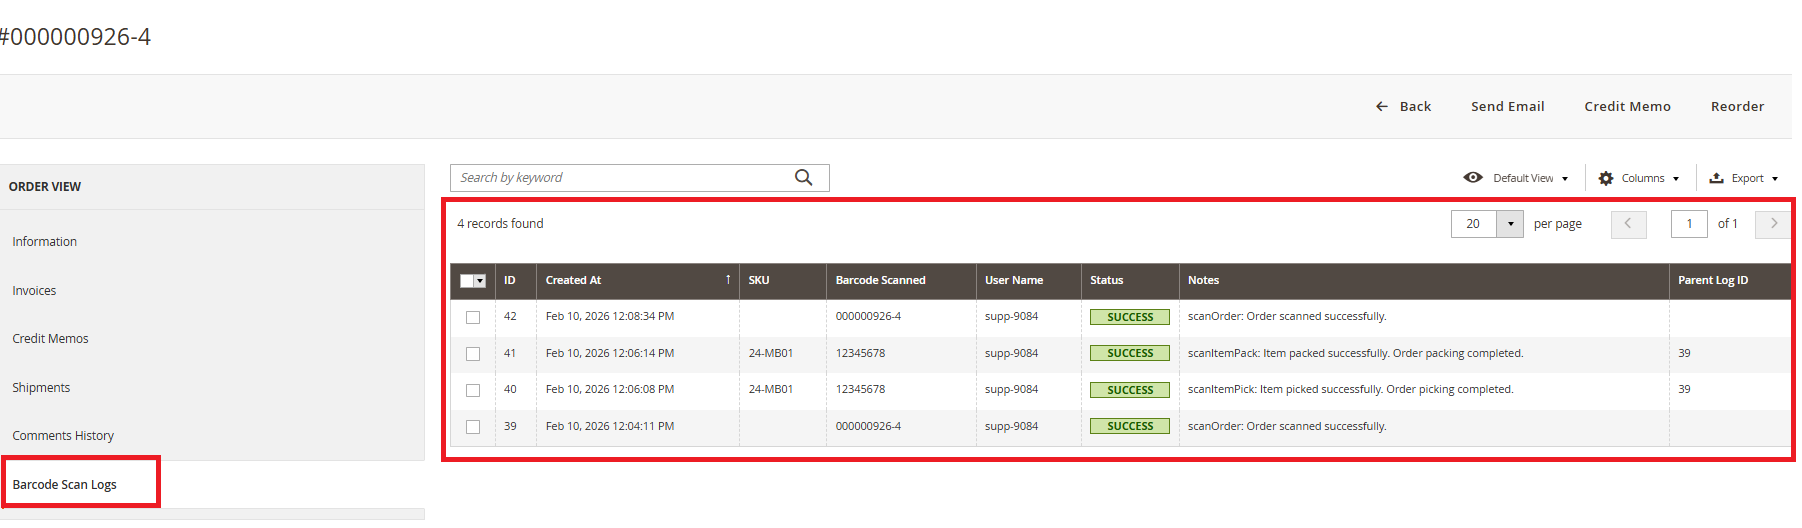
You can check the Barcode Scan Logs by navigating to Admin > Sales > Orders > Edit > Barcode Scan Logs. All order statuses will be shown as Success.
Configuring “Change Status on Pick” and Barcode Scanner Workflow
When you set “Change Status on Pick” to Yes and configure the Picked from Pick Order Status under Admin > Stores > Configuration > Barcode Scanner, then place an order and click on Scan Items for Pick, you can enter the barcode scanner value in front of the item. The status should then update to Picked and Complete. Please refer to the screenshot below for reference.

If you have a question related to this extension please check out our FAQ Section first. If you can't find the answer you are looking for then please contact support@scommerce-mage.com.