
Magento 2 TikTok Integration
Installation and User Guide for Magento 2 Tiktok Integration Extension
Table of Contents
- Installation
- Installation via app/code
- Installation via Composer
- Configuration Settings for Tiktok Integration
- General Settings
- Selected WDYHAU Option in Orders Grid
- WDYHAU Details at Customers Level
- WDYHAU Details on the Sales Order View Page
- "Where did you hear about us?" Drop-down Options in the Back-end
- Front-end Site View
- WDYHAU Option on the Registration Page
- WDYHAU option on the Checkout Page
Installation
-
Installation via app/code: Upload the content of the module to your root folder. This will not overwrite the existing Magento folder or files, only the new contents will be added. After the successful upload of the package, run below commands on Magento 2 root directory.
php bin/magento setup:upgrade php bin/magento setup:di:compile php bin/magento setup:static-content:deploy -
Installation via Composer: Please follow the guide provided in the below link to complete the installation via composer.
Configuration Settings for Tiktok Integration
Go to Admin > Stores > Configuration > Scommerce Configuration > Tiktok Integration
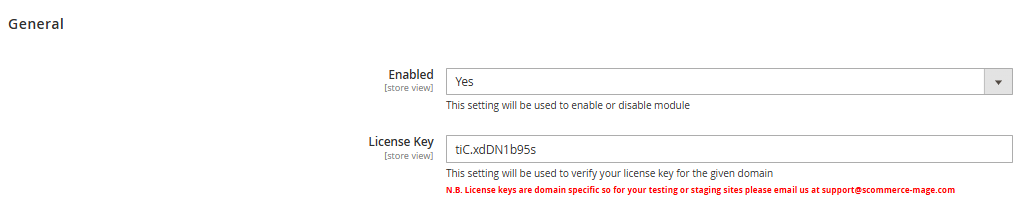
General Settings
- Enabled – Select "Yes" or "No" to enable or disable the module.
- License Key – Please add the license for the extension which is provided in the order confirmation email. Please note license keys are site URL specific. If you require license keys for dev/staging sites then please email us at support@scommerce-mage.com.
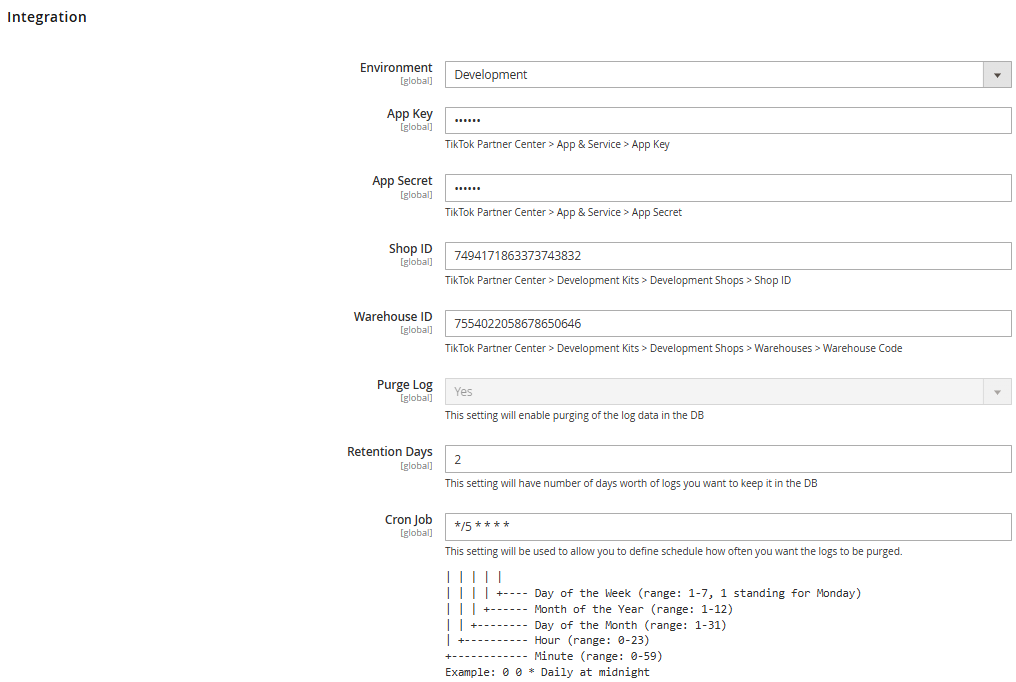
Integration
- Environment – Please select either 'Developer' or 'Production' as the environment from the configuration settings.
- App key - Please add the App key.
- App Secret - Please add the App Secret.
- Shop ID - Please add the Shop ID.
- Warehouse ID - Please add the Warehouse ID.
- Purge Log - Select either 'Yes' or 'No'. Choosing 'Yes' will enable the purging of log data from the database.
- Retention Days - Please specify the number of days for which you would like to retain log data in the database.
- Cron Job -
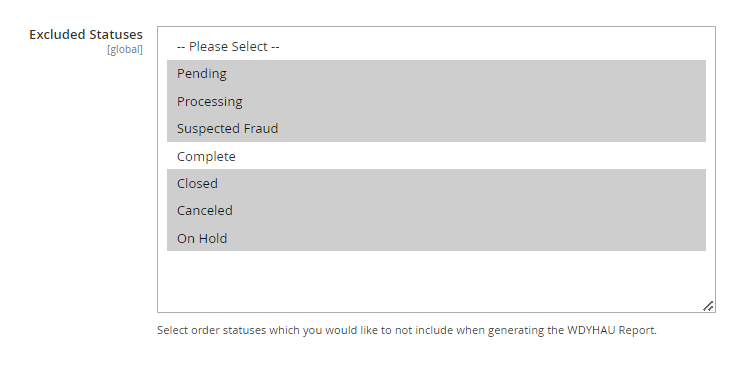
Report
- Exclue Statuses - Select exclude statuses which you would like to not include when generating the WDYHAU Report.
- Selected WDYHAU Option in Orders Grid - You can see the selected "Where did you hear about us?" option at Admin > Sales > Orders grid.

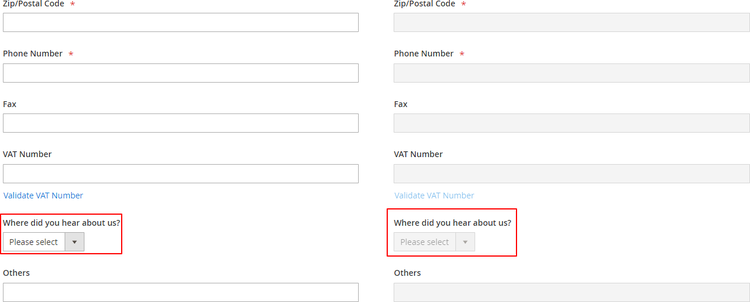
- WDYHAU Details at Customers Level - To see the "Where did you hear about us?" option at customers level go to Admin > Customers > All Customers > Select Customer > Account Information > Where did you hear about us?
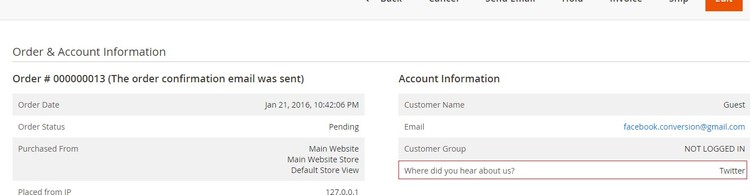
- WDYHAU Details on the Sales Order View Page - The selected WDYHAU option will be shown on order view page under "Account Information" section from Admin > Sales > Select Order > View.
- "Where did you hear about us?" Drop-down Options in the Back-end - When you enable the module, then it shows WDYHAU drop-down option in the back-end at Admin > Sales > Create New Order > Select Customer > Select Product > Select "Where did you hear about us?" option.
Front-end Site View
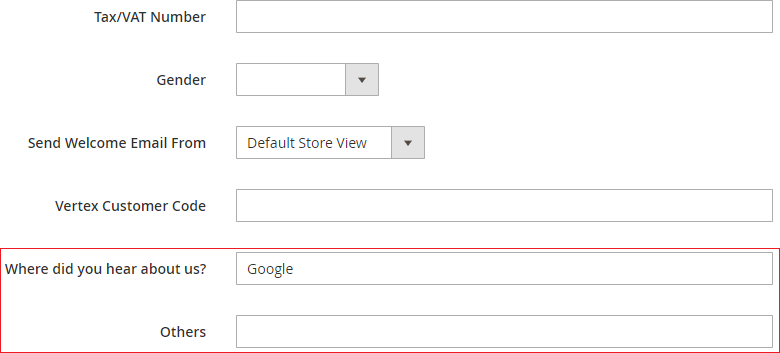
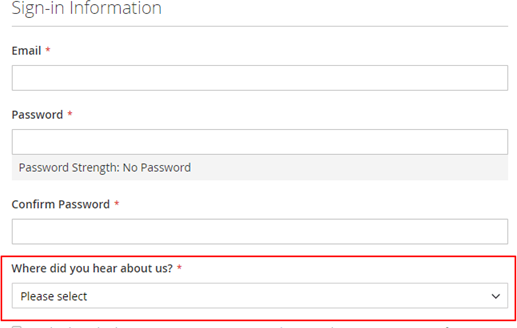
- WDYHAU Option on the Registration Page - You can define the "Where did you hear about us?" drop-down options from Admin > Stores > Configuration> Scommerce Configuration > Where did you hear about us? - Google; Twitter; Facebook; YouTube; Others, which will be shown on the registration page.
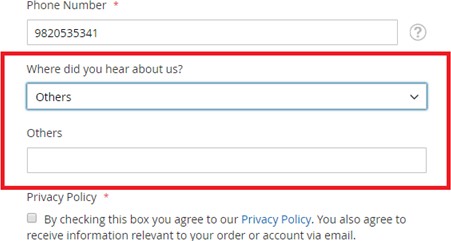
- WDYHAU option on the Checkout Page - You can see the "Where did you hear about us?" option on the checkout page.
If you have a question related to this extension please check out our FAQ Section first. If you can't find the answer you are looking for then please contact support@scommerce-mage.com.