
Magento 2 Admin Message Manager
Installation and User Guide for Magento 2 Admin Message Manager
Table of Contents
- Installation
- Installation via app/code
- Installation via Composer
- Configuration Settings for Admin Message Manager
- General Settings
- Admin Message Manager Workflow
- Step 1: Access the Admin Message Grid
- Step 2: Create a New Message
- Step 3: Edit or Delete Messages
- Display logic for Admin Messages
- Why do messages appear?
- How do messages appear?
- HTML Support
- View Messages in Admin Panel
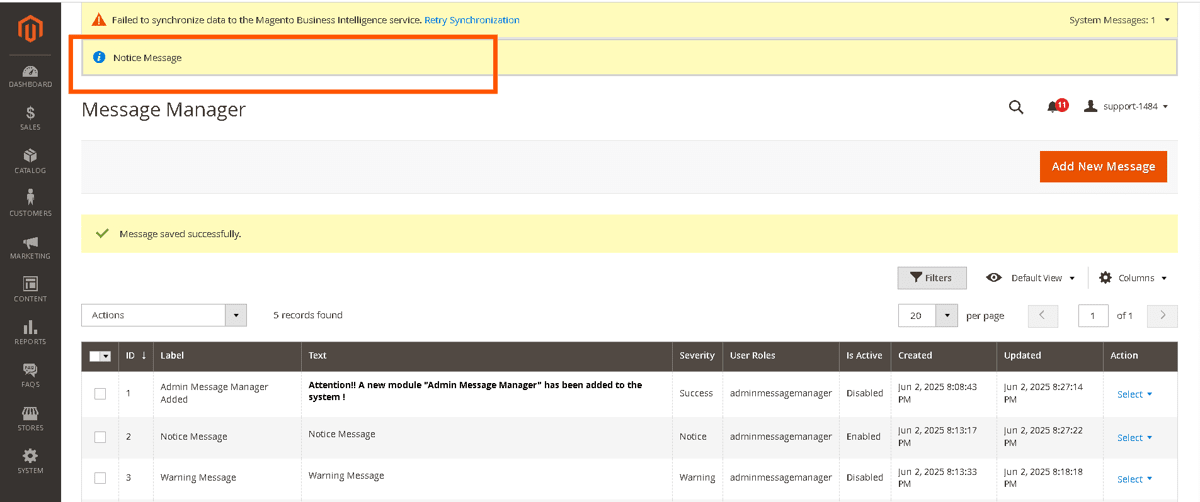
- Notice Message
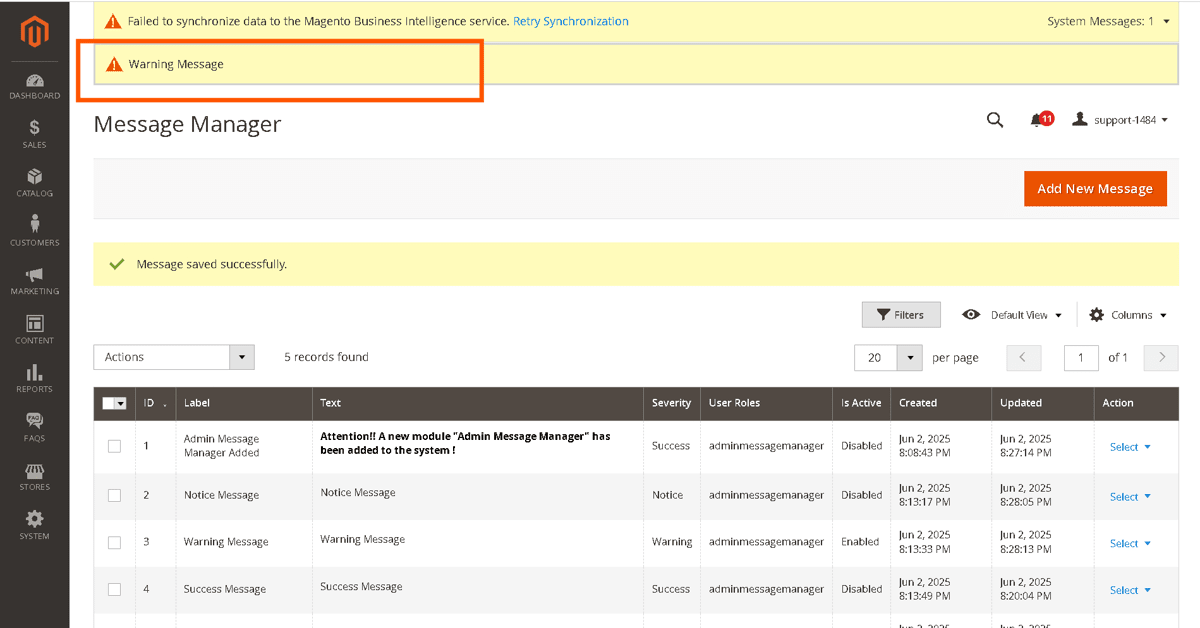
- Warning Message
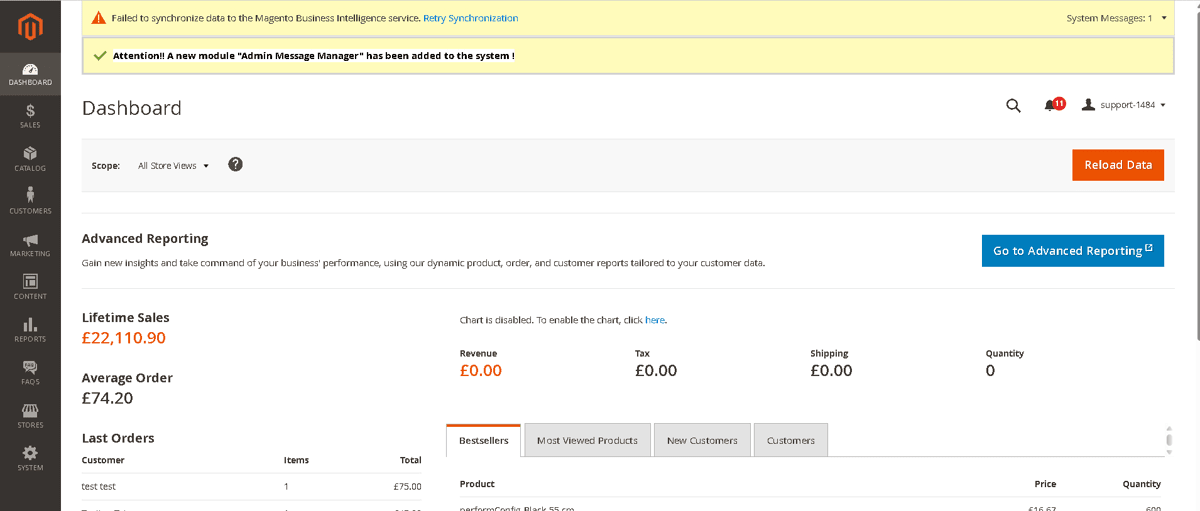
- Success Message
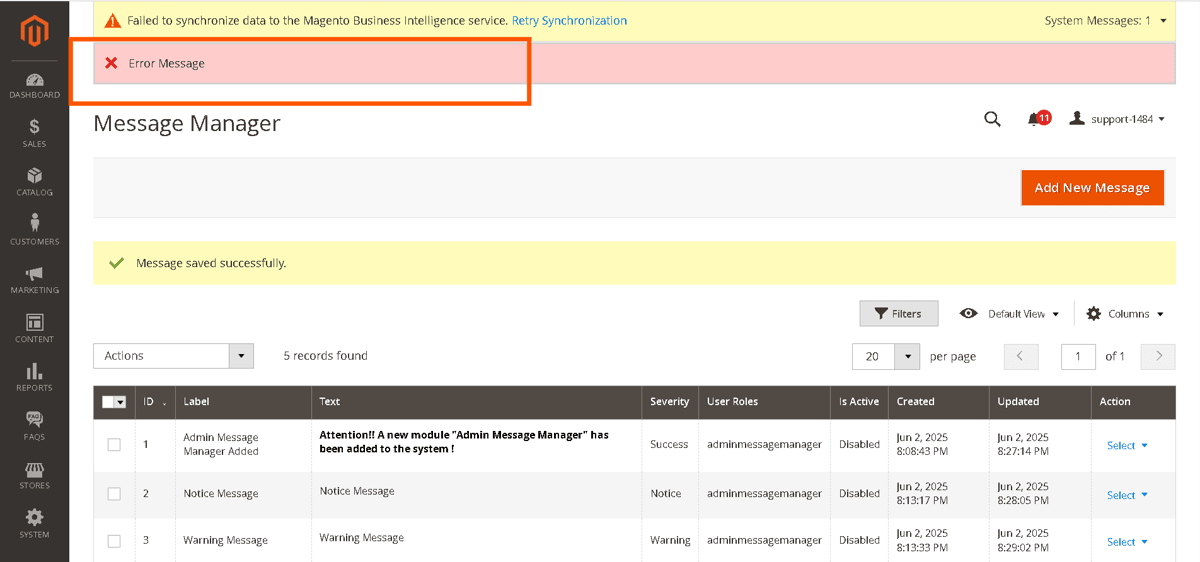
- Error Message
Installation
-
Installation via app/code: Upload the content of the module to your root folder. This will not overwrite the existing Magento folder or files, only the new contents will be added. After the successful upload of the package, run below commands on Magento 2 root directory.
php bin/magento setup:upgrade php bin/magento setup:di:compile php bin/magento setup:static-content:deploy -
Installation via Composer: Please follow the guide provided in the below link to complete the installation via composer.
Configuration Settings for Admin Message Manager
Go to Admin > Stores > Configuration > Scommerce Configuration > Admin Message Manager
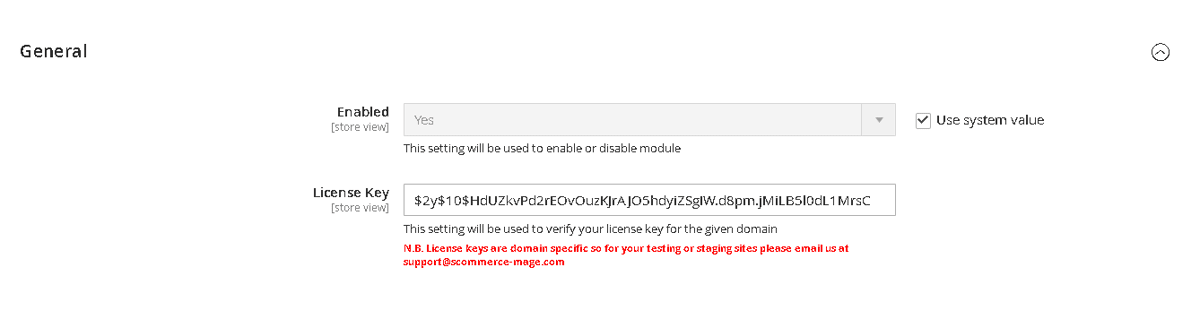
General Settings
- Enabled - Select "Yes" or "No" to enable or disable the module.
- License Key - Please add the license for the extension which is provided in the order confirmation email. Please note license keys are site URL specific. Please go to Admin > Stores > Configuration > Scommerce Configuration > Core and click on "Verify" to verify the license key.
Admin Message Manager Workflow
Using this extension an admin create custom messages for the other admins and pass on critical updates based on user roles.
The admin can only use this functionality if the have the "Scommerce Admin Message Manager Section" selected under role resources for their user role.
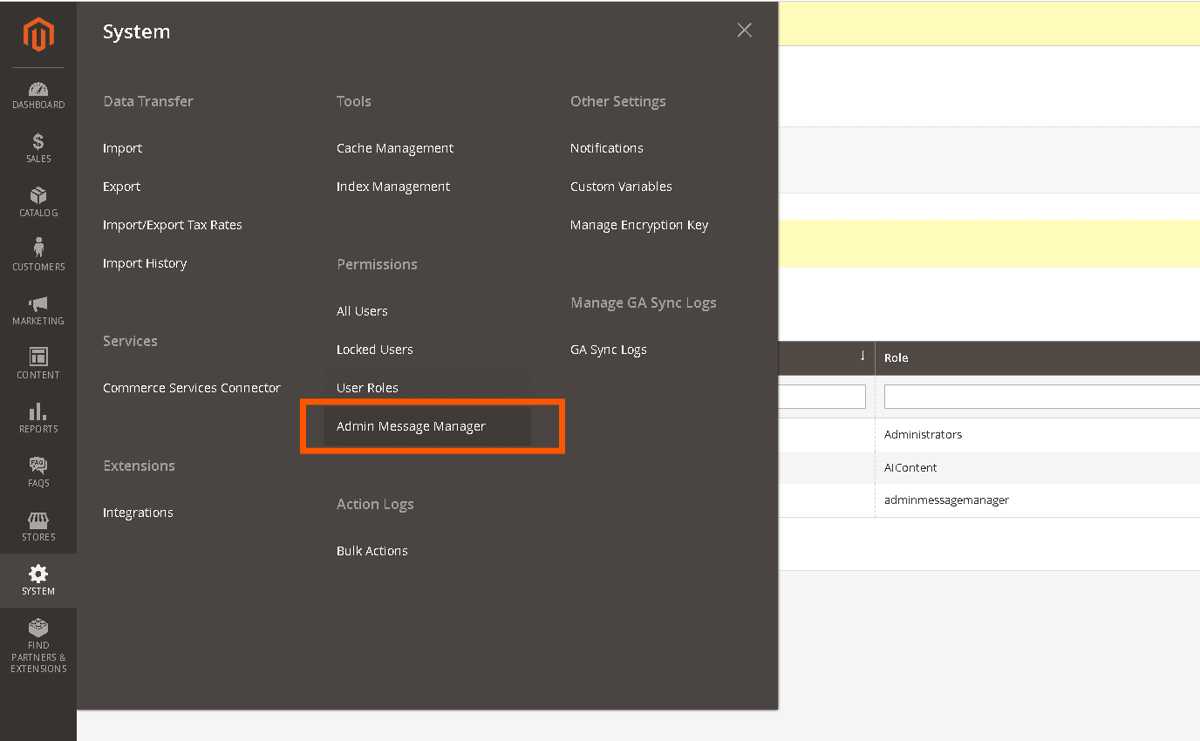
Step 1: Access the Admin Message Grid
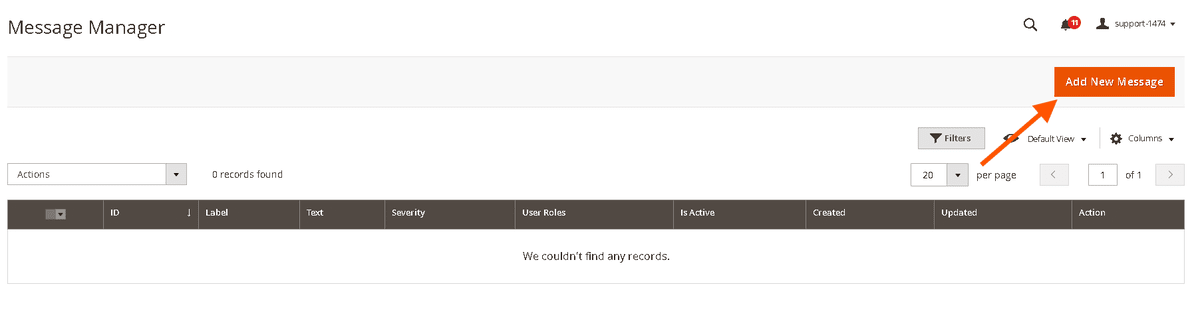
Step 2: Create a New Message
- Go to Admin>System>Admin Message Manager
- Click "Add New Message".
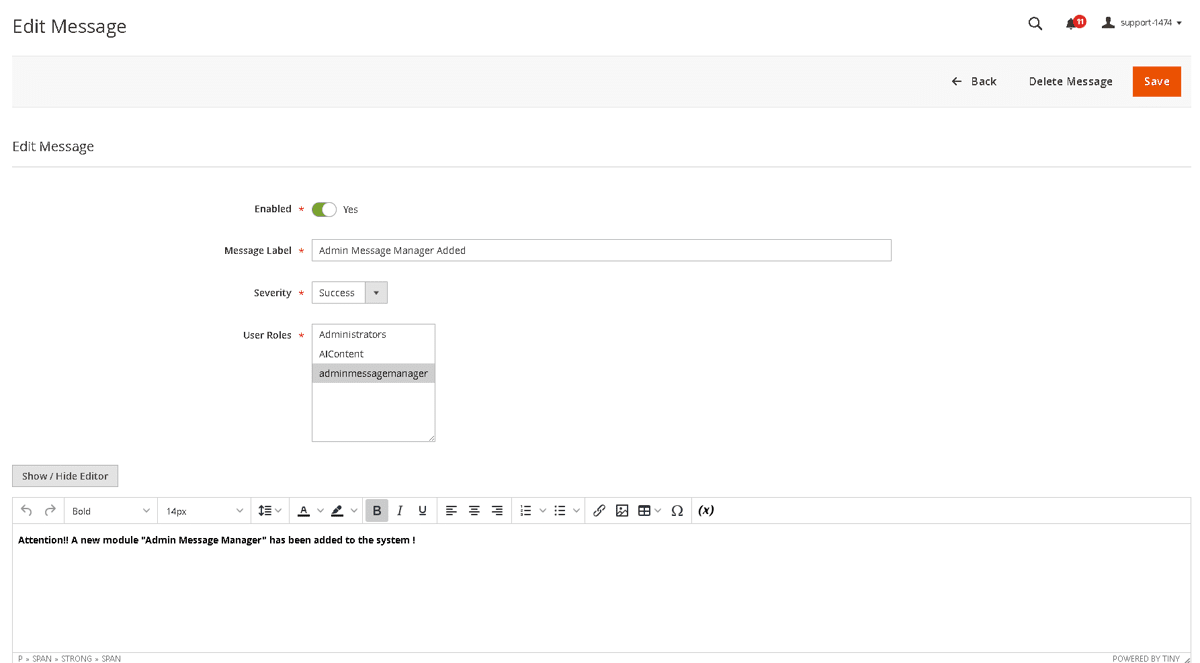
- Fill in the form:
- Enabled :- Turn it on to enable the message (Active/Inactive toggle)
- Message Label (Optional identifier)
- Severity Type (Notice, Warning, Success, Error)
- User Roles (Multi-select roles that should see the message)
- Message Text (Supports HTML links, bold, italics via WYSIWYG editor)
- Click "Save".
Note:
- Required fields: Enabled, Message Label, Severity, at least one User Role, Message Text.
- HTML is sanitized for security (only
<a>,<strong>,<em>allowed).
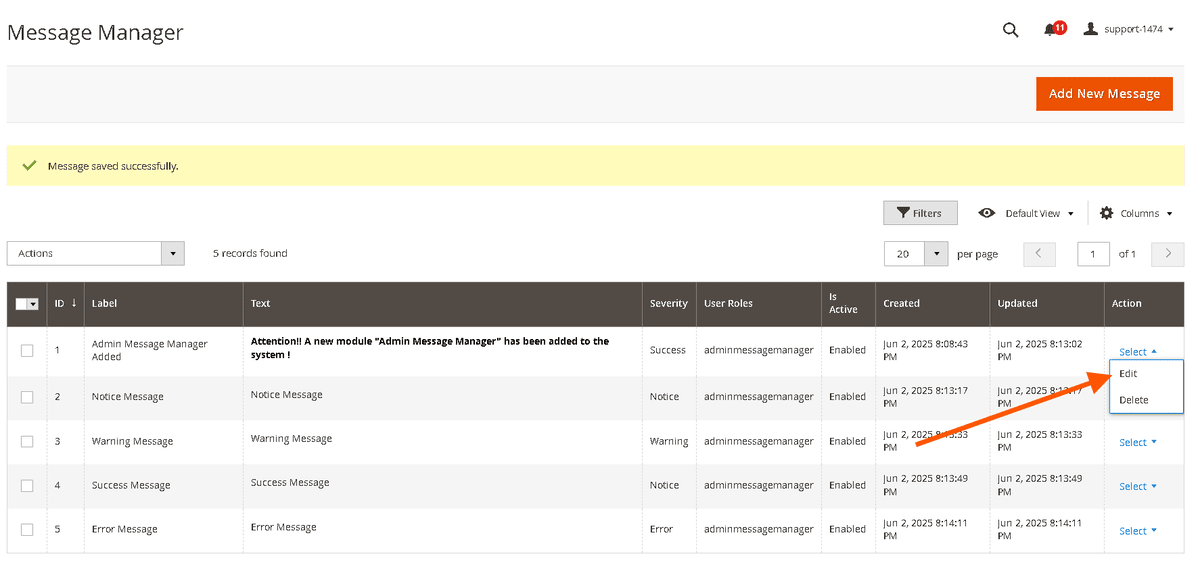
Step 3: Edit or Delete Messages
Edit A Message
- In the grid, click "Edit" on the desired message.
- Modify any field (Label, Text, Severity, User Roles, Enabled).
- Click "Save" or "Delete" (if removing the message).
Delete A Message
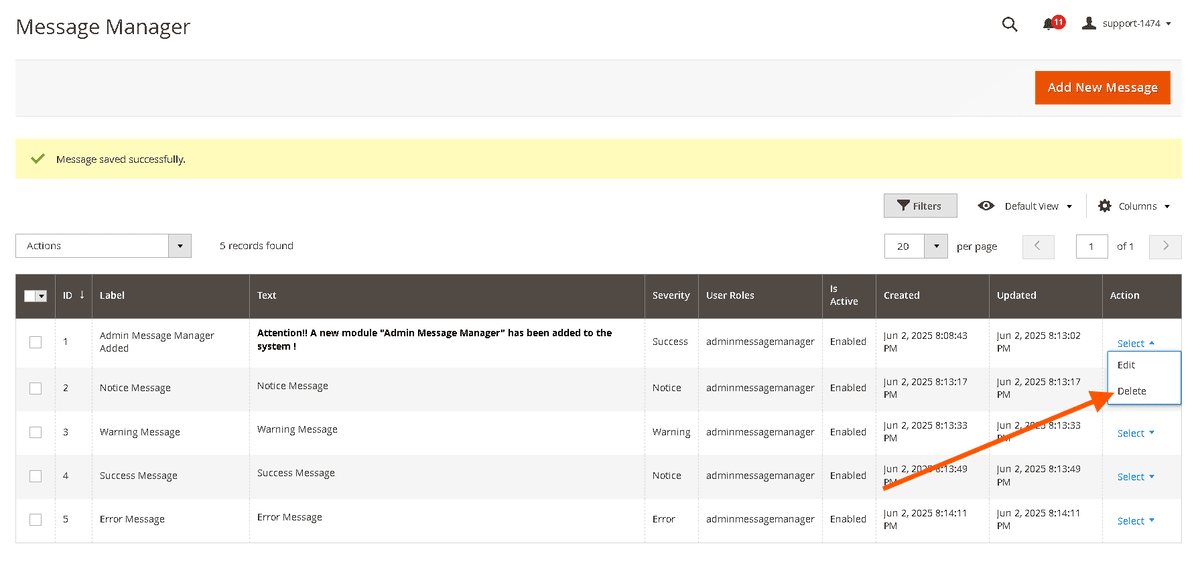
Option 1: Single Deletion (From Grid)
- Click "Delete" on the Edit row then confirm deletion
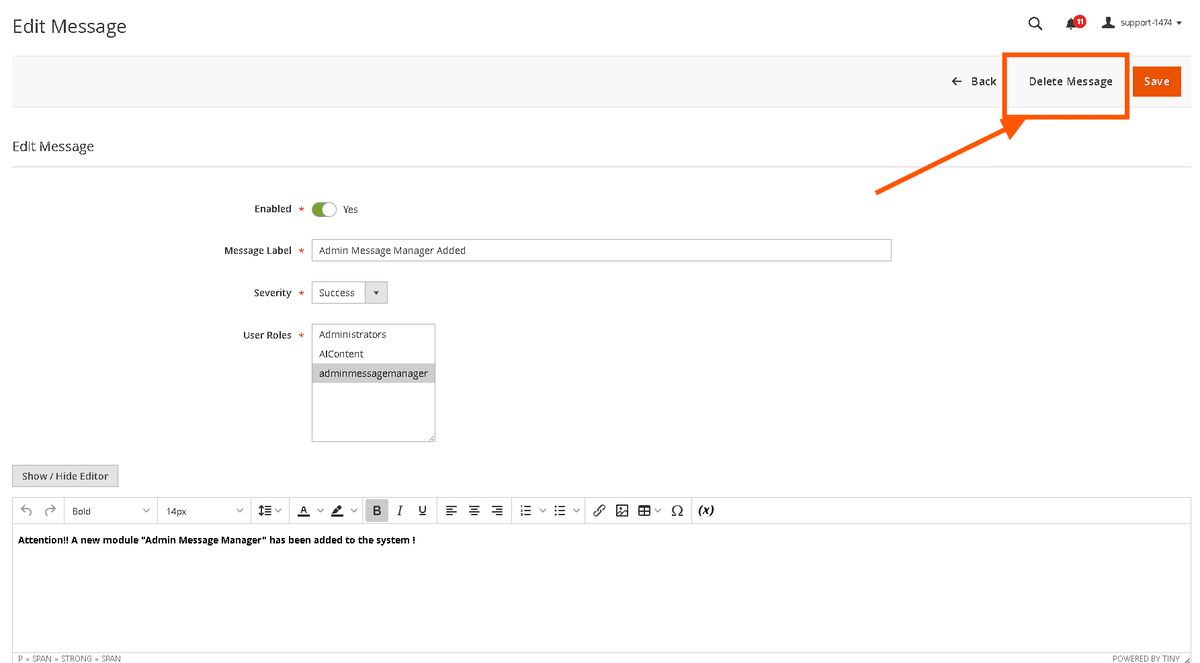
Option 2: Single Deletion (From Edit Form)
- Open the message>Click "Delete Message">Confirm.
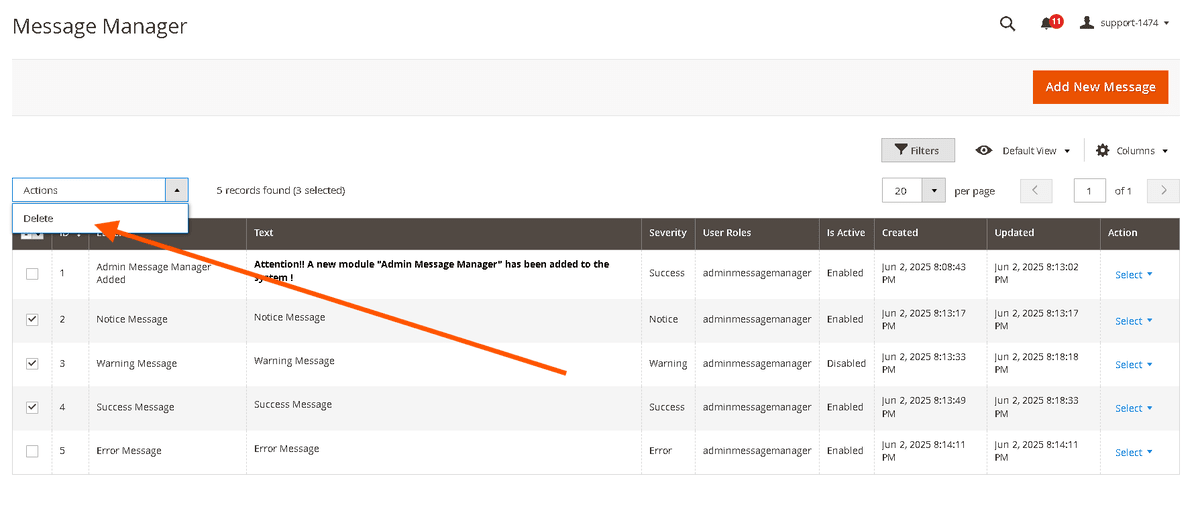
Option 3: Mass Delete (Bulk Action)
- Select checkboxes next to messages.
- From the Actions dropdown, choose "Delete".
- Confirm by clicking "OK" in the popup.
Display Logic for Admin Messages
When Do Messages Appear?
A message is displayed in the admin panel if:
- Status = Active
- Admin user's role matches at least one selected role in the message.
How Do Messages Appear?
HTML Support
View Messages in Admin Panel
- Messages appear as sticky banners at the top of the admin panel.
- Only active messages matching the user's role are displayed.
Notice Message
Warning Message
Success Message
Error Message
If you have a question related to this extension please check out our FAQ Section first. If you can't find the answer you are looking for then please contact support@scommerce-mage.com.