
Magento 2 Image Optimizer
Installation and User Guide for Magento 2 Image Optimizer
Table of Contents
- Installation
- Installation via app/code
- Installation via Composer
- Configuration Settings for Optimiser Base
- General Settings
- Configuration Settings for Image Optimiser
- General Settings
- Compress/Optimize Product Images
- Compress/Optimize Category Images
- Compress/Optimize CMS Images
Installation
-
Installation via app/code: Upload the content of the module to your root folder. This will not overwrite the existing Magento folder or files, only the new contents will be added. After the successful upload of the package, run below commands on Magento 2 root directory.
php bin/magento setup:upgrade php bin/magento setup:di:compile php bin/magento setup:static-content:deploy -
Installation via Composer: Please follow the guide provided in the below link to complete the installation via composer.
Configuration Settings for Optimiser Base
Go to Admin > Stores > Configuration > Scommerce Configuration > Optimiser Base
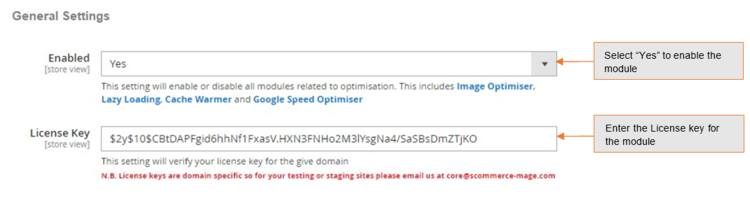
General Settings
- Enabled – Select "Yes" or "No" to enable or disable the module.
- License Key – Please add the license for the extension which is provided in the order confirmation email. Please note license keys are site URL specific. If you require license keys for dev/staging sites then please email us at support@scommerce-mage.com.
Configuration Settings for Image Optimiser
Go to Admin > Stores > Configuration > Scommerce Configuration > Image Optimiser
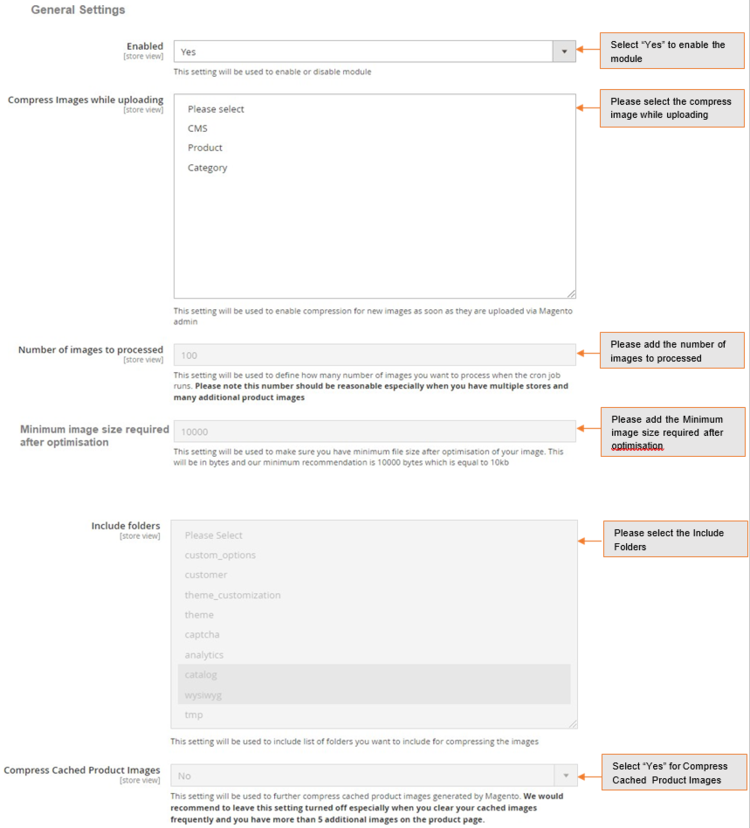
General Settings
-
Enabled - Select "Yes" or "No" to enable or disable the module.
-
Compress Images while uploading (All pages, CMS, Category and Product): Select available options to enable compression for new images uploaded via Magento admin. We recommend this to be enabled because all the new things will be compressed straight away.
-
Number of images to processed – Define how many number of images you want to process when the cron job runs. Please note this number should be reasonable especially when you have multiple stores and many additional product images.
-
Include folders – Please select list of folders you want to include for compressing the image.
-
Compress Cached Product Images (Yes/No) – Select "Yes" to compress cached product images generated by Magento. We could recommend to leave this setting turned off especially when you clear your cached images frequently and you have more than 5 additional images on the product page.
-
Image Compression Provider – Please select image compression provider. Provider API URL: Provider API URL
smush it –http://api.resmush.it/ws.php?img=imageoptim –https://im2.io/{ {username} }/full/kraken.io –https://api.kraken.io./v1/url -
API Key – Please enter API Key (if provider is kraken.io).
-
API Secret Key – This will be required for certain providers like kraken.io
-
Exclude folders – Please enter the list of folders you want to exclude from media directory (comma separated) for example foldername1, foldername2, /foldername /subfolder1, foldername/subfolder2
-
Backup Images (Yes/No) – Select "Yes" to enable this feature to backup original images before compressing original file.
-
Debugging (Yes/No) – Select "Yes" to enable debugging. This will write logs in var – log – imageoptimize.log
-
Image Optimiser Schedule – Please define the Cron frequency to optimize images.
-
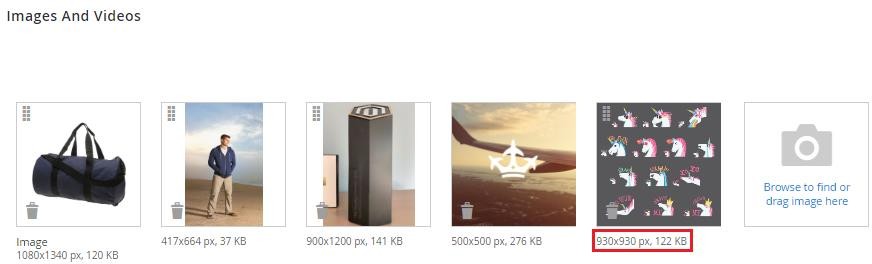
Compress/Optimize Product Images - You can compress product images by enabling module from Admin > Stores > Configuration > Scommerce Configuration > Image Optimiser > Enabled - "Yes" > Compress Images while uploading - Select "Product ".
-
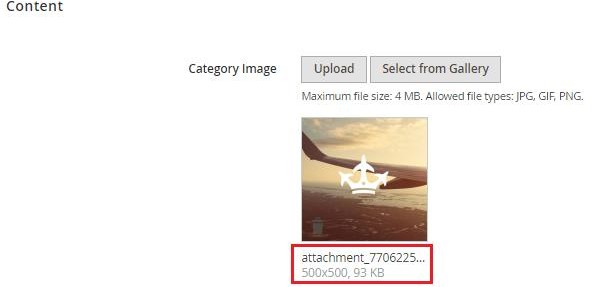
Compress/Optimize Category Images - You can compress category images by enabling module from Admin > Stores > Configuration > Scommerce Configuration > Image Optimiser > Enabled - "Yes" > Compress Images while uploading - Select "Category ".
-
Compress/Optimize CMS Images - You can compress CMS images by enabling module from Admin > Stores > Configuration > Scommerce Configuration > Image Optimiser > Enabled - "Yes" > Compress Images while uploading - Select "CMS ".

If you have a question related to this extension please check out our FAQ section first. If you can't find the answer you are looking for then please contact support@scommerce-mage.com.