
Magento 2 Canonical Urls for Category, Product, CMS, and Other pages
Installation and User Guide for Magento 2 Canonical URLs for Category, Product, CMS, and Other pages
Table of Contents
- Installation
- Installation via app/code
- Installation via Composer
- Configuration Settings for SEO Base
- General Settings
- Configuration Settings for Canonical Tags
- General Settings
- Category Canonical Tag
- Product Canonical Tag
- CMS Canonical Tag
- Others Pages Canonical Tags
- No Index No Follow
- Product set up for Canonical URL
- Category set up for Canonical URL
- CMS set up for Canonical URL
- Set Primary Categories
- Front-end Site View
- Category Canonical Tag
- Product Canonical Tag
- CMS Canonical Tag
Installation
Installation via app/code: Upload the content of the module to your root folder. This will not overwrite the existing Magento folder or files, only the new contents will be added. After the successful upload of the package, run below commands on Magento 2 root directory.
php bin/magento setup:upgrade
php bin/magento setup:di:compile
php bin/magento setup:static-content:deploy
Installation via Composer: Please follow the guide provided in the below link to complete the installation via composer.
Configuration Settings for SEO Base
Go to Admin> Stores> Configuration> Scommerce Configuration> SEOBase
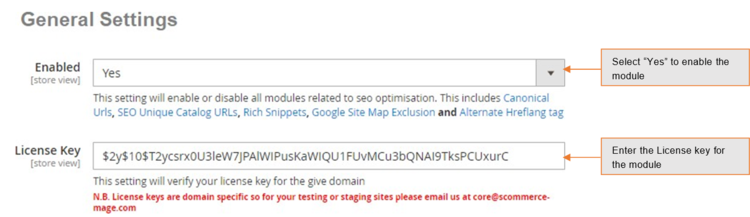
General Settings
- Enabled – Select "Yes" or "No" to enable or disable the module.
- License Key – Please add the license for the extension which is provided in the order confirmation email. Please note license keys are site URL specific. If you require license keys for dev/staging sites then please email us at support@scommerce-mage.com.
Configuration Settings for Canonical Tags
Go to Admin > Stores > Configuration >Scommerce Configuration > Canonical Tags
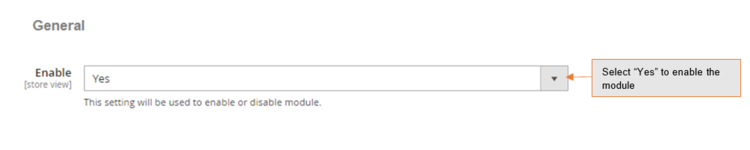
General Settings
- Enable - Select "Yes" or "No" to enable or disable the module.
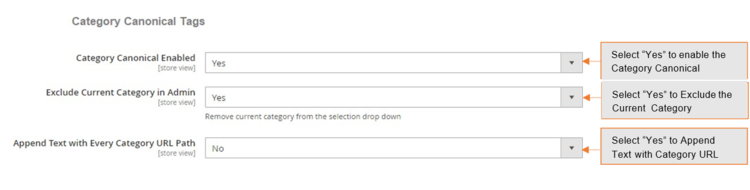
Category Canonical Tag
- Category Canonical Enable – Set it to yes, if you want canonical tag on category pages.
- Exclude Current Category in Admin – Set it to "Yes", if you don't want the same category to appear in the drop-down selection while choosing canonical category for a category.
- Append Text with Every Category URL Path – Set it to yes, if you want to append text with overridden canonical URL as well. This setting is useful when you have pagination/filtered navigation/sorting on your site.
Product Canonical Tag
- Product Canonical Enable – Set it to yes, if you want canonical tag on product pages.

CMS Canonical Tag
- CMS Canonical Enable – Set it to yes, if you want canonical tag on cms pages.

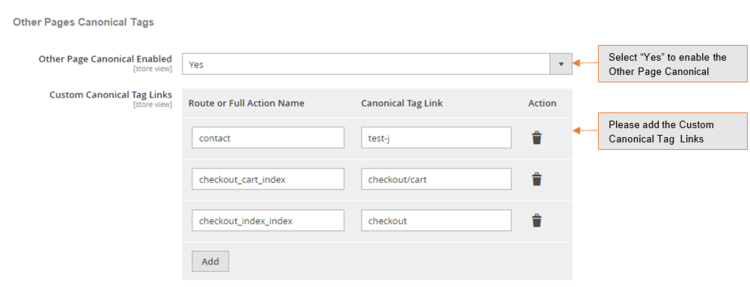
Others Pages Canonical Tags
- Other Page Canonical Enabled - Set it to yes, if you want canonical tag on other page.
- Custom Canonical Tag Links – Add custom canonical tag links.
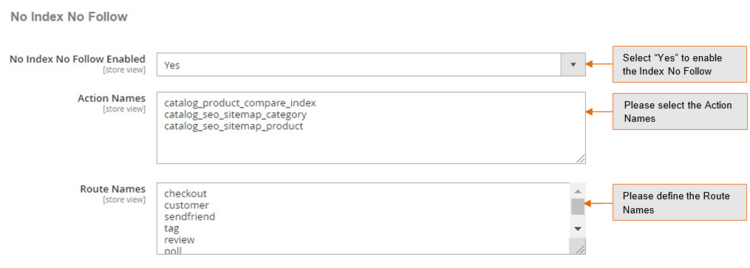
No Index No Follow
- No Index No Follow Enabled – Set it to yes, if you want to add no index, no follow in the head section.
- Action names – Add action names here to add no index, no follow in the head section for specific page. New route name needs to be added in next line.
- Route names – Add route name here to add no index, no follow in the head section for list of pages.
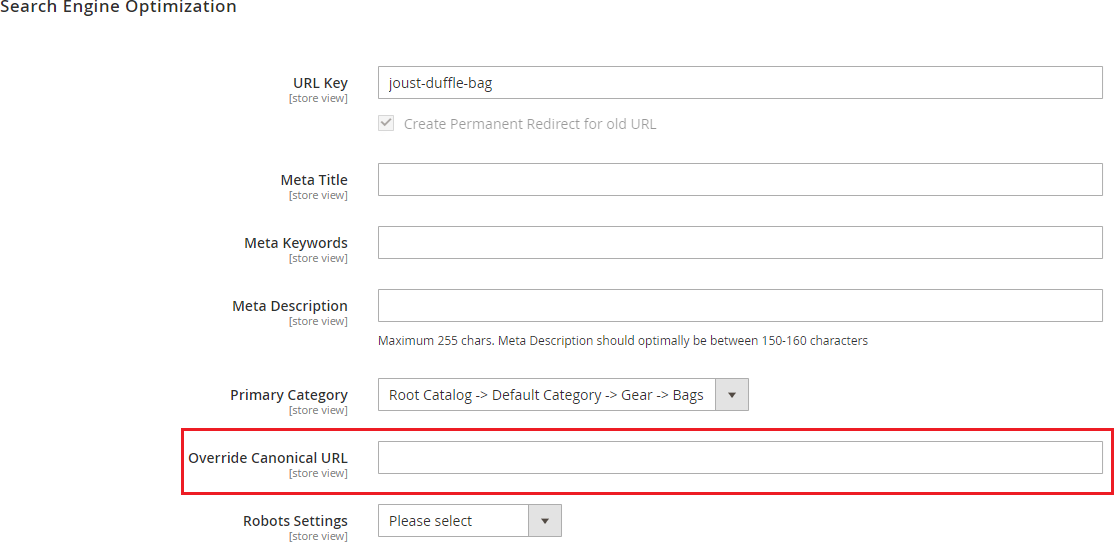
Product set up for Canonical URL
Go to Admin > Catalog > Products > Select Product (for which you want to set Canonical URL) > Search Engine Optimization Tab
- Primary Category – Select primary category to be included in the canonical URL tag.
- Override Canonical URL – Enter text here to be used as canonical tag URL.
- Robot Settings – Select the robot settings from dropdown.
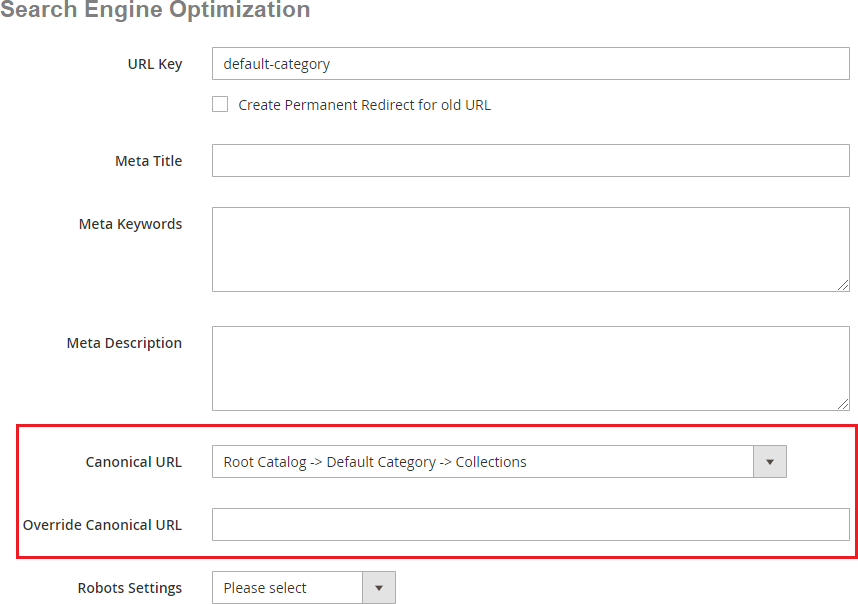
Category set up for Canonical URL
Go to Admin > Catalog> Category > select category (for which you want to set canonical URL) > Search Engine Optimization Tab
- Canonical URL – Select primary category to be included in canonical URL tag.
- Override Canonical Tag – Enter text here to be used as canonical tag URL.
- Robot Settings – Select the robot settings from dropdown.
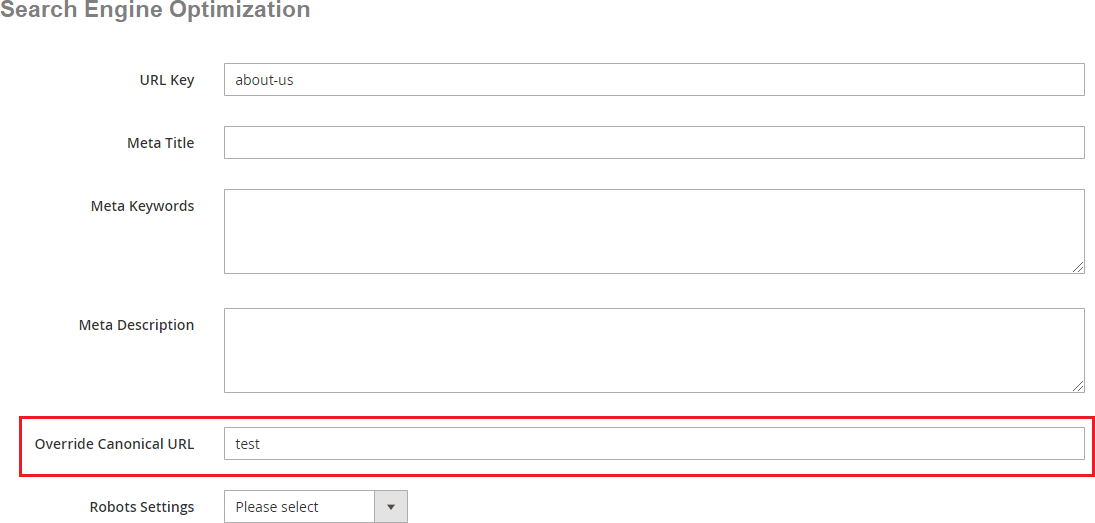
CMS set up for Canonical URL
Go to Admin > Content > Pages > Choose page (for which you want to set canonical URL) > Search Engine Optimization Tab
- Override Canonical URL – Enter text here to be used as canonical tag URL.
- Robot Settings – Select the robot settings from dropdown.
Set Primary Categories
You can use a script provided with the extension to automatically add primary categories for products. Admin can exclude certain categories from primary category and also prioritise one category over the other to be picked as the primary category.
Go to Admin>Catalog>Categories select a category then scroll down to find the option "Primary Category Settings". Here click on "Exclude From Primary Category" to exclude this category from primary category or enter the priority 0 being the highes. The highest priority category will be picked first for the primary category.

To automatically assingn primary category for all products run the command given below by going into the root directory of your store.
scommerce:seo-base:set-primary-categoryN.B - If you are using older version then run the script provided in the extension folder at the path Data/SetPrimaryCategoryM2.php from ssh
Front-end Site View
-
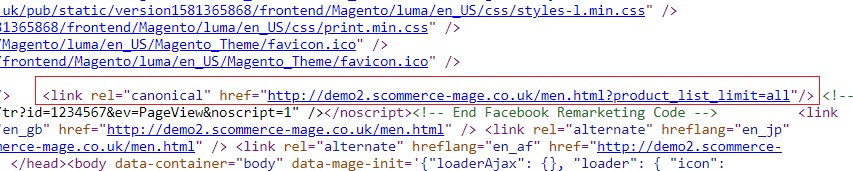
Category Canonical Tag - You can enable canonical tag on the category page from Admin> Stores > Configuration > Scommerce Configuration > Canonical Tags > Category Canonical Enable - Select "Yes".
-
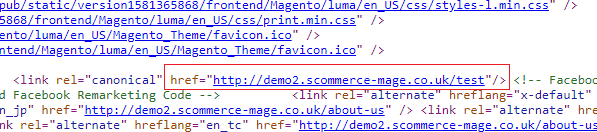
Product Canonical Tag - To add canonical tag on the product page, go to Admin > Stores > Configuration > Scommerce Configuration > Canonical Tags > Product Canonical Enable - Select "Yes"

-
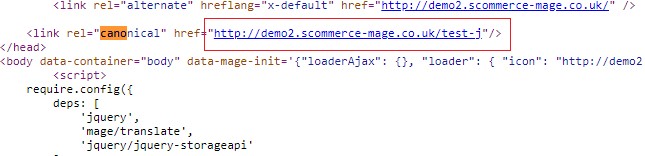
CMS Canonical Tag - You can add canonical tag on any page from Admin> Stores > Configuration >Scommerce Configuration > Canonical Tags >CMS Canonical Enable - Select "Yes".
- Other Pages Canonical Tags- You can add canonical tag on the CMS pages from Admin> Stores > Configuration >Scommerce Configuration > Canonical Tags > Other Page Canonical Enabled "Yes" and under Custom Canonical Tag Links click on add and add the full route name of the page for eg:- when visiting the checkout page your URL will look something like http://demo2.scommerce-mage.co.uk/contact/. Here "contact" is your full route name. Lastly, enter the Canonical tag link that you want to send with the URL.
If you have a question related to this extension please check out our FAQ section first. If you can't find the answer you are looking for then please contact support@scommerce-mage.com.