
Magento 2 Cross Linking SEO
Installation and User Guide for Magento 2 Cross Linking SEO
Table of Contents
- Installation
- Installation via app/code
- Installation via Composer
- Installation via Composer(Hyvä Theme)
- Configuration Settings for SEO Base
- General Settings
- Configuration Settings for Cross Linking
- Cross Links Grid
- Add New Cross Link.
- Build External Link to Any Website
- Alert Message for Inactive Product / Category
- Set Primary Categories
- Front-end Site view
- Cross Link on Category Page
- Category Page Cross Link Redirecting on External Link
- Cross Link on Product Page
- Product Page Cross Link Redirecting on Internal Link
- Cross Link on CMS Page
Installation
- Installation via app/code: Upload the content of the module to your root folder. This will not overwrite the existing Magento folder or files, only the new contents will be added. After the successful upload of the package, run below commands on Magento 2 root directory.
php bin/magento setup:upgrade php bin/magento setup:di:compile php bin/magento setup:static-content:deploy - Installation via Composer: Please follow the guide provided in the below link to complete the installation via composer.
- Installation via Composer(Hyvä Theme): Go to My Account section then go to Composer Instructions. Run the composer config commands mentioned on the page then run the below command to install the module on hyva theme.
composer require hyva-themes/magento2-scommerce-crosslinkingConfiguration Settings for SEO Base
Go to Admin > Stores > Configuration > Scommerce Configuration > SEO Base
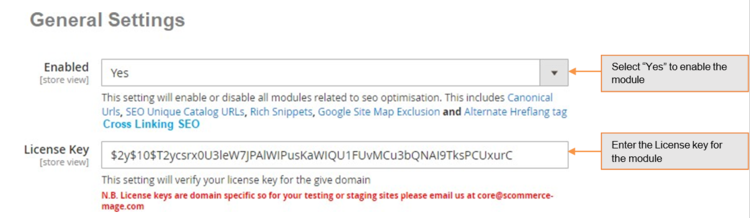
General Settings
- Enabled – Select "Yes" or "No" to enable or disable the module.
- License Key – Please add the license for the extension which is provided in the order confirmation email. Please note license keys are site URL specific. If you require license keys for dev/staging sites then please email us at support@scommerce-mage.com.
Configuration Settings for Cross Linking
Go to Admin > Stores > Configuration > Scommerce Configuration > Cross Linking
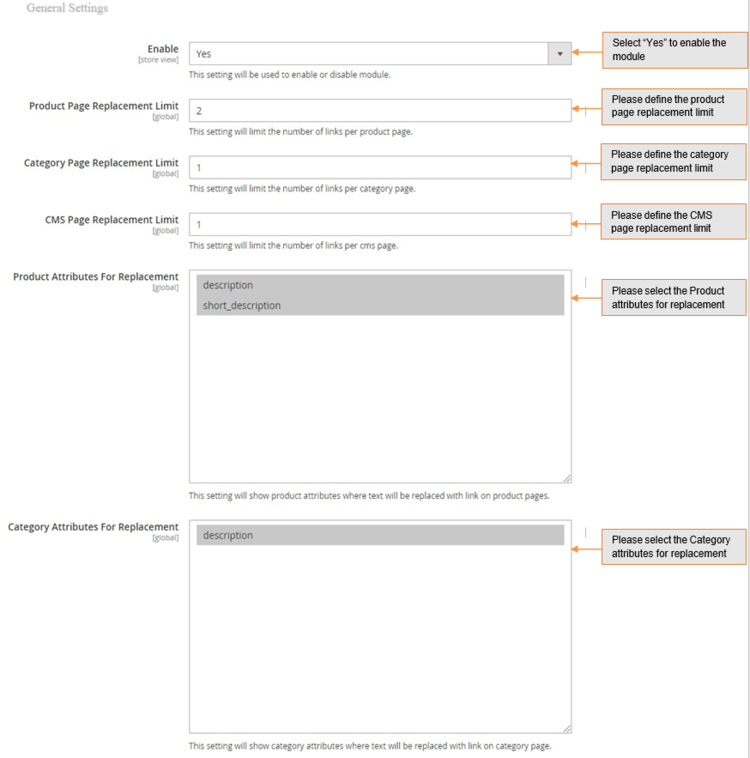
- Enabled – Select "Yes" or "No" to enable or disable the module.
- Product Page Replacement Limit – Please define the replacement limit per product page. It determines how many keywords will be replaced on the given page.
- Category Page Replacement Limit – Please define the replacement limit per category page. It determines how many keywords will be replaced on the given page.
- CMS Page Replacement Limit – Please define the CMS page replacement limit. It determines how many keywords will be replaced on the given page.
- Product Attributes for Replacement – Please select the product attributes where text will be replaced with link on product pages.
- Category Attribute for Replacement – Please select the category attributes where text will be replaced with link on category page.
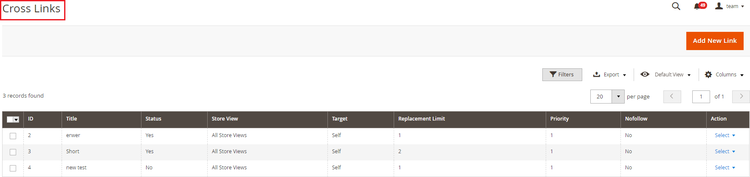
- Cross Links Grid - You can manage and create new cross links from Admin > Marketing > SEO Cross Linking > Cross Links. This grid will have ID, Title, Status, Store View, Target, Replacement Limit, Priority, Nofollow, Action.
- Add New Cross Link - To add new cross link, go to Admin > Marketing > SEO Cross Linking > Cross Links > Click on "Add New Link" button. It redirects on "Add New Cross Link" page and by providing all the general information you can create a new cross link.
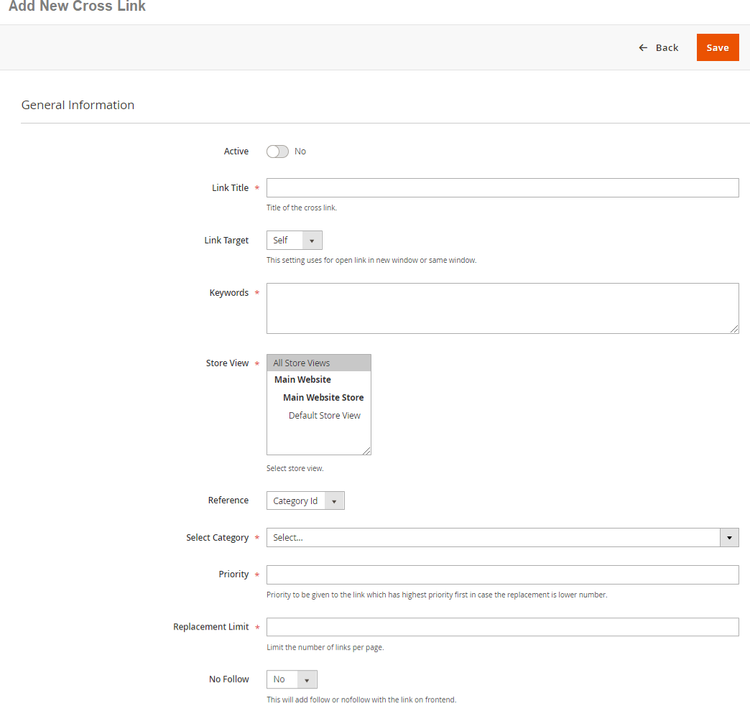
This will have following general information:-
- Active - Dropdown with 'YES' or 'NO' options
- Link Title - Title of the link
- Link Target - Dropdown with options self or blank
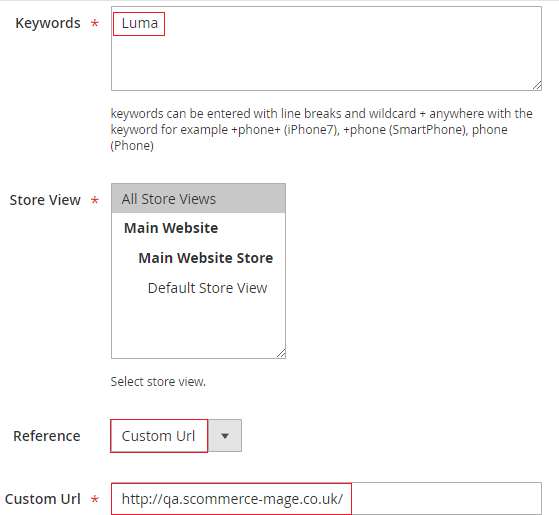
- Keywords - Keywords can be entered with line breaks and wildcard % anywhere with the keyword for example %phone% (iPhone7)
- Store View - Multi-select with options All Store Views, Default Store View
- Reference - Dropdown with options, Product ID, Category ID or Custom Url
- Reference Resource - This will show either category tree or product grid with filters or css grid with filters to choose category or product ID
- Priority - Priority to be given to the link which has highest priority first in case the replacement is lower number
- Replacement limit - Limit the number of links per page
- No Follow - This will add follow or nofollow with the link on frontend
- Build External Link to Any Website - You can set external link to any website from Admin > Marketing > SEO Cross Linking > Cross Links >Reference - Custom Url > Custom Url - Provide External Link.
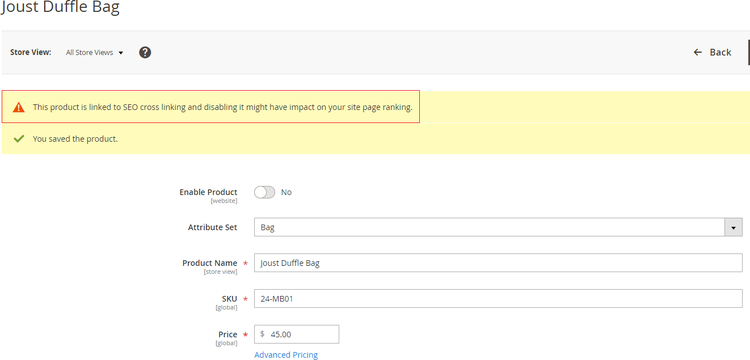
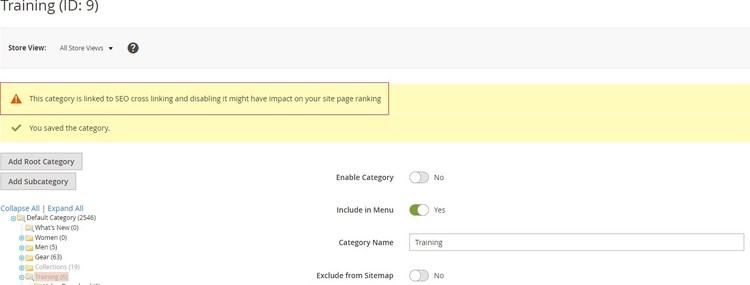
- Alert Message for Inactive Product / Category - It shows an alert / warning message when you disable the category or product from Admin > Catalog > Category / Product > Select Category / Product > Disable > Save.
- Alert Message for Inactive Category
Set Primary Categories
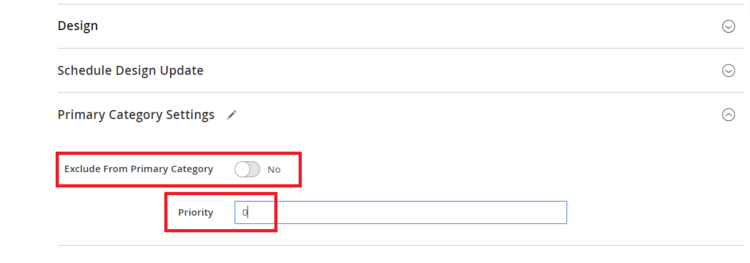
You can use a script provided with the extension to automatically add primary categories for products. Admin can exclude certain categories from primary category and also prioritise one category over the other to be picked as the primary category.
Go to Admin>Catalog>Categories select a category then scroll down to find the option "Primary Category Settings". Here click on "Exclude From Primary Category" to exclude this category from primary category or enter the priority 0 being the highes. The highest priority category will be picked first for the primary category.
To automatically assign primary category for all products run the command given below by going into the root directory of your store.
scommerce:seo-base:set-primary-categoryN.B - If you are using older version then run the script provided in the extension folder at the path Data/SetPrimaryCategoryM2.php from ssh
Front-end Site view
- Cross Link on Category Page - You can define the replacement limit for category page from Admin > Stores > Configuration > Scommerce Configuration > Cross Linking > Category Page Replacement Limit - 1. It determines how many keywords will be replaced on the given page and to define cross link, go to Admin > Marketing > SEO Cross Linking > Cross Links > Select Link > Replacement Limit -1.
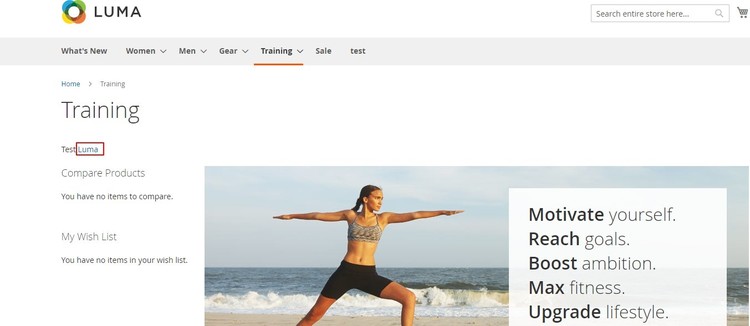
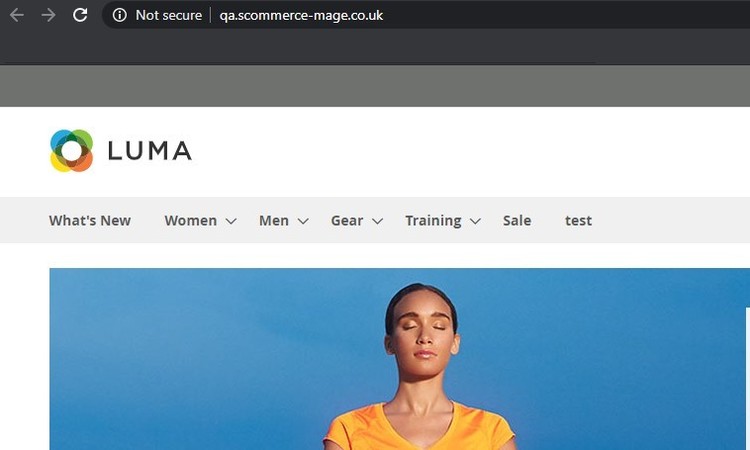
- Category Page Cross Link Redirecting on External Link - Click on the cross link "Luma" will redirect to external link.
- Cross Link on Product Page - You can define replacement limit for cross link from Admin > Marketing > SEO Cross Linking Cross Links > Select Link > Replacement Limit - 2. Individual Cross link limit determines how many times the link will be replaced on the given page.
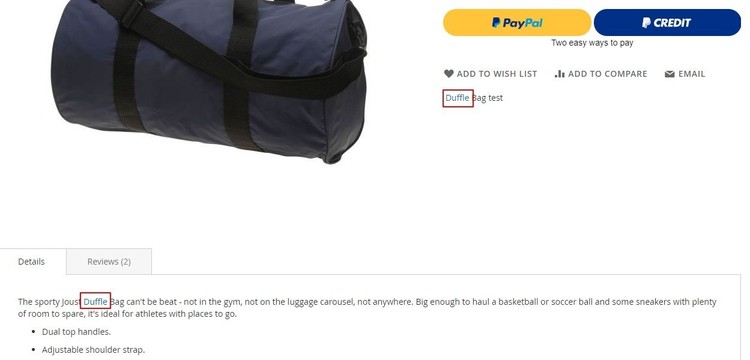
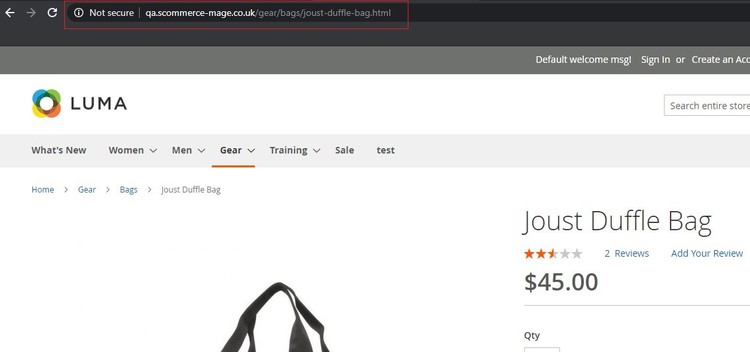
- Product Page Cross Link Redirecting on Internal Link - Click on the cross link "Duffle" will redirect to defined internal link.
- Cross Link on CMS Page - You can set replacement limit for cross link from Admin > Marketing > SEO Cross Linking > Cross Links > Select Link > Replacement Limit - 1. Individual Cross link limit determines how many times the link will be replaced on the given page.

If you have a question related to this extension please check out our FAQ section first. If you can't find the answer you are looking for then please contact support@scommerce-mage.com.